HOW TO APPLY SUNSTRIPS
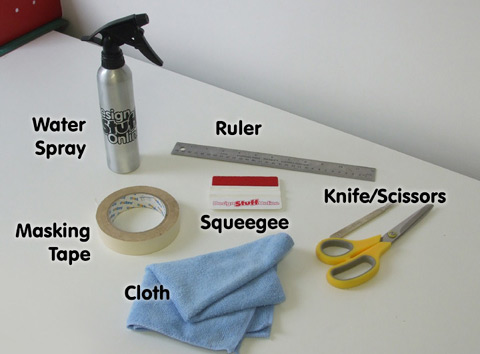
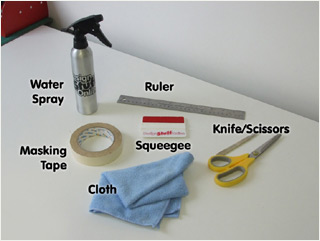
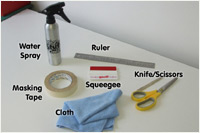
Step 1. You will need...
A water spray, ruler/measuring tape, masking tape, squeegee (a credit card with a piece of cloth wrapped around makes a good substitute), a cloth and a sharp knife.
Remove the decals from the postal tube and allow them to 'un curl'.
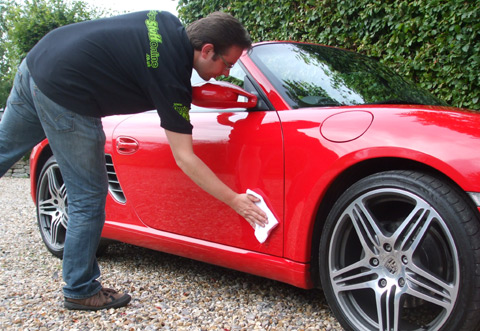
Step 2. Thoroughly Clean Surface
Thoroughly clean the surface of the car, removing any wax, grime and grease.

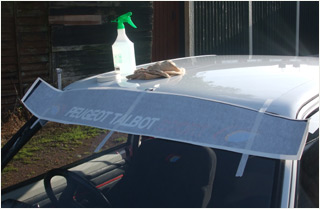
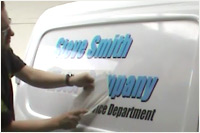
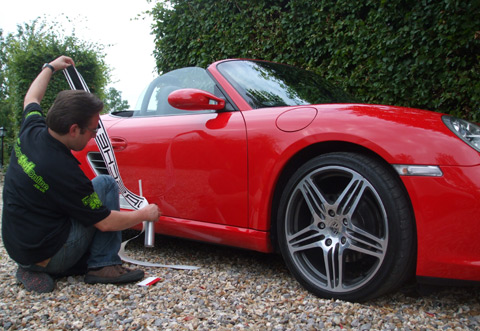
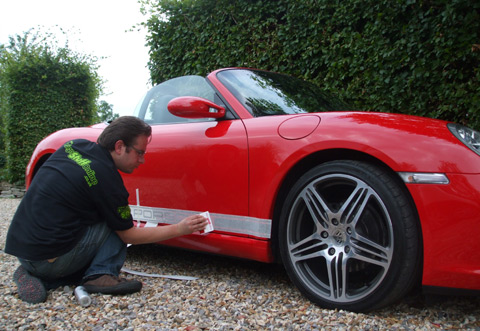
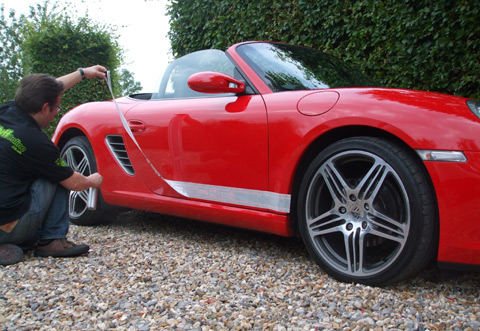
Step 3. Hold in place with masking tape
Align the decal and hold in place with masking tape.
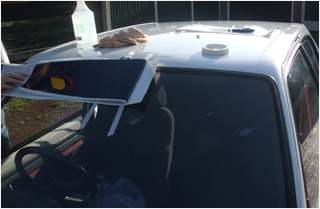
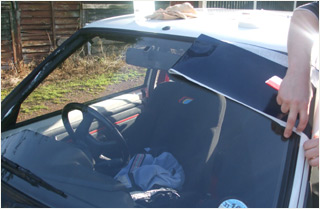
Step 4. Remove back half and spray with water
Remove half of the backing paper and, if preferred, spray water onto the sticker and the surface of the car.
Be careful not to get the backing paper wet.
* Spraying with water is not necessary, but can help disperse any air bubbles.
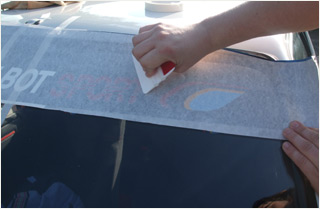
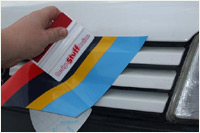
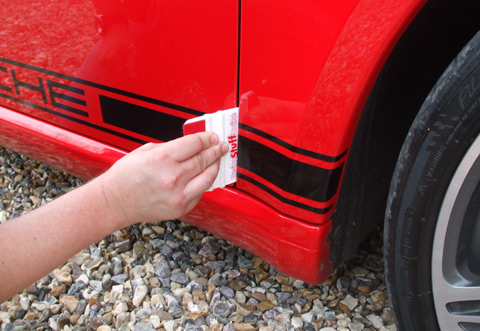
Step 5. Smooth down with squeegee
Using firm pressure, smooth the decal down with a squeegee, squeezing as much water out from behind the decal as possible.
Step 6. Repeat for remaining half
Repeat the above process for the remaining half of the decal.
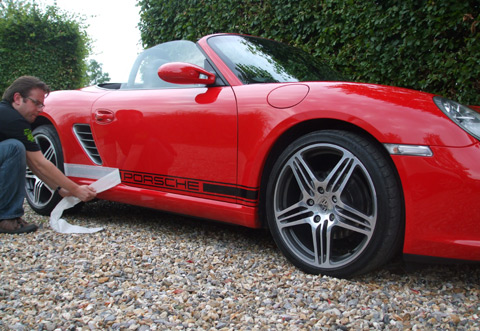
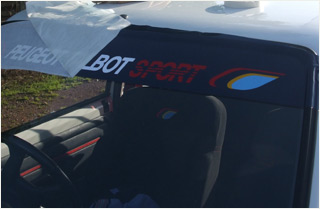
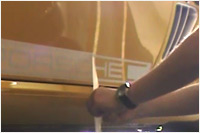
Step 7. Peel away applicator tape slowly
Squeeze as much water out as you can from behind the decals, then allow the remainder to dry.
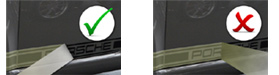
Peel back the applicator tape slowly, at a tight angle (i.e. NOT pulling away from the surface), ensuring the decals remain stuck in place.
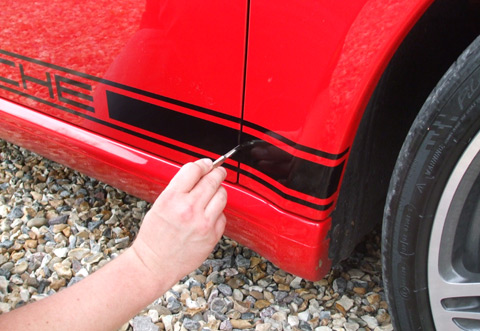
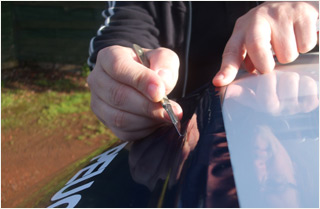
Step 8. Slice along panel gaps
Using a sharp knive, slice the decal along the panel gaps.
Step 9. Tuck in excess
Tuck in the excess vinyl, wrapping it around the panels.

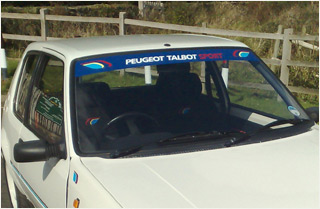
Step 10. Stand back and admire!
Stand back and admire your handy work.