HOW TO APPLY VAN GRAPHICS
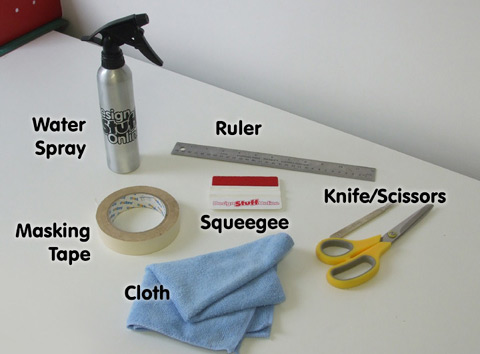
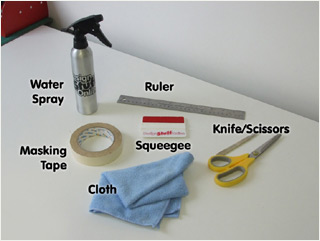
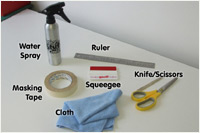
Step 1. You will need...
A water spray, ruler/measuring tape, masking tape, squeegee (a credit card with a piece of cloth wrapped around makes a good substitute), a cloth and a sharp knife.
Remove the decals from the postal tube and allow them to 'un curl'.
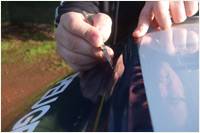
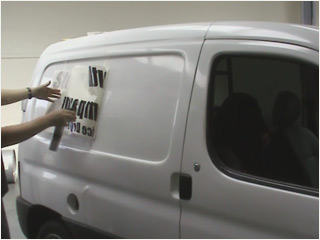
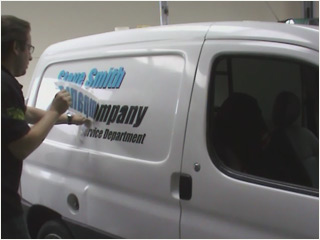
Step 2. Hold in place with masking tape
After the surface has been thoroughly cleaned, offer the graphic to the surface of the vehicle and hold in place with masking tape, ensuring the decal is correctly lined up.
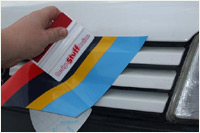
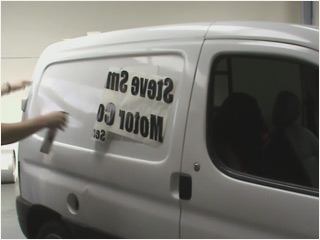
Step 3. Remove back half and spray with water
Remove half of the backing paper and spray a generous amount of water onto the sticker and the surface of the vehicle.
Step 4. Smooth down with squeegee
Using firm pressure, smooth the decals down with a squeegee, squeezing as much water out from behind the graphic as is possible.
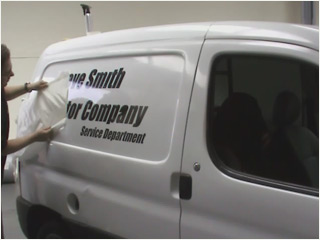
Step 5. Repeat for remaing half
Repeat the above process for the remaining half of the graphic.
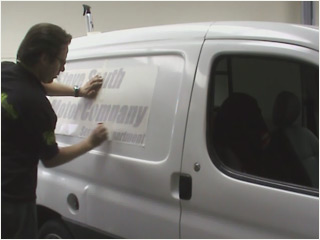
Step 6. Peel away applicator tape slowly
Once as much water as possible has been squeezeed out from behind the graphics, allow the remainder to dry. You can use a heat gun on its lowest setting to help speed up the process.
Peel back the applicator tape slowly, at a sharp angle, ensuring the lettering remains stuck in place.
Step 7. Overlay to create 3D effect
With this particular van, a 3D effect has been acheived by overlaying a contrasting coloured graphic, using the same technique as above.
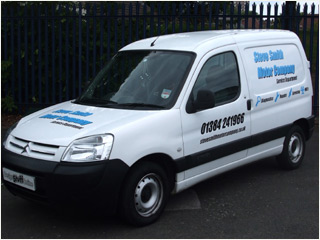
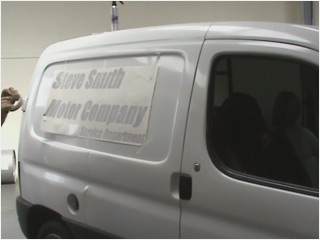
Step 10. Stand back and admire!
Stand back and admire your handy work.